
Shrinky dinks come in sheets that are white, clear and frosted. Print or hand colour them with paints, pencils and inks. Put them into the oven in a low-temperature oven for a couple of minutes, or use a heat gun to shrink them. For a more eco-friendly version of the craft, repurpose leftover plastic food containers (look for the recycle.
Shrinky Dink Ideas Over 25 Fun and Easy Shrinky Dink Ideas
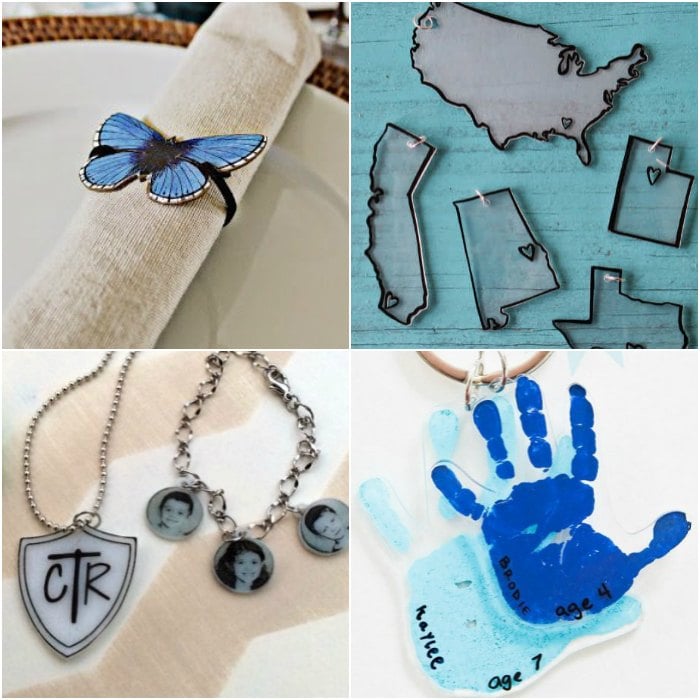
Gluing magnets or push pins to the back of your Shrinky Dink photo creates a fun way to decorate your refrigerator or corkboard. Of course, family photos are alway sweet to hang on a Christmas tree. Shrinky Dink Bookmarks. Bookmarks might be one of the easiest Shrinky Dink projects, but it might be one of the most fun, especially for children!
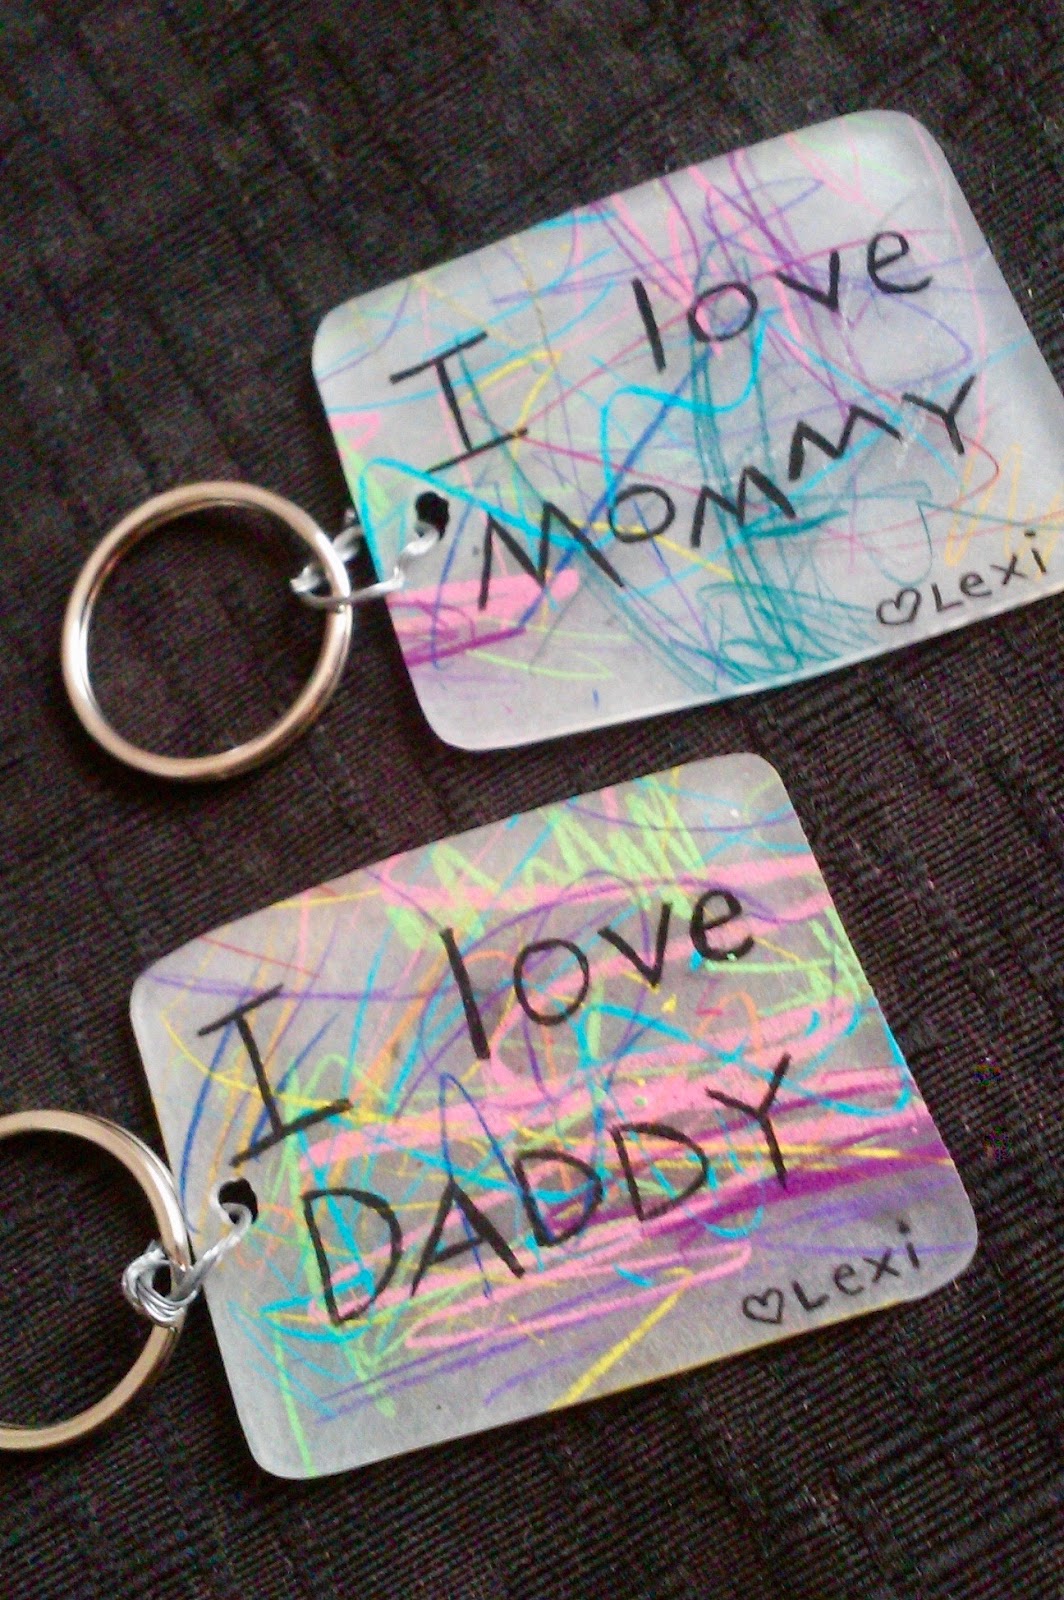
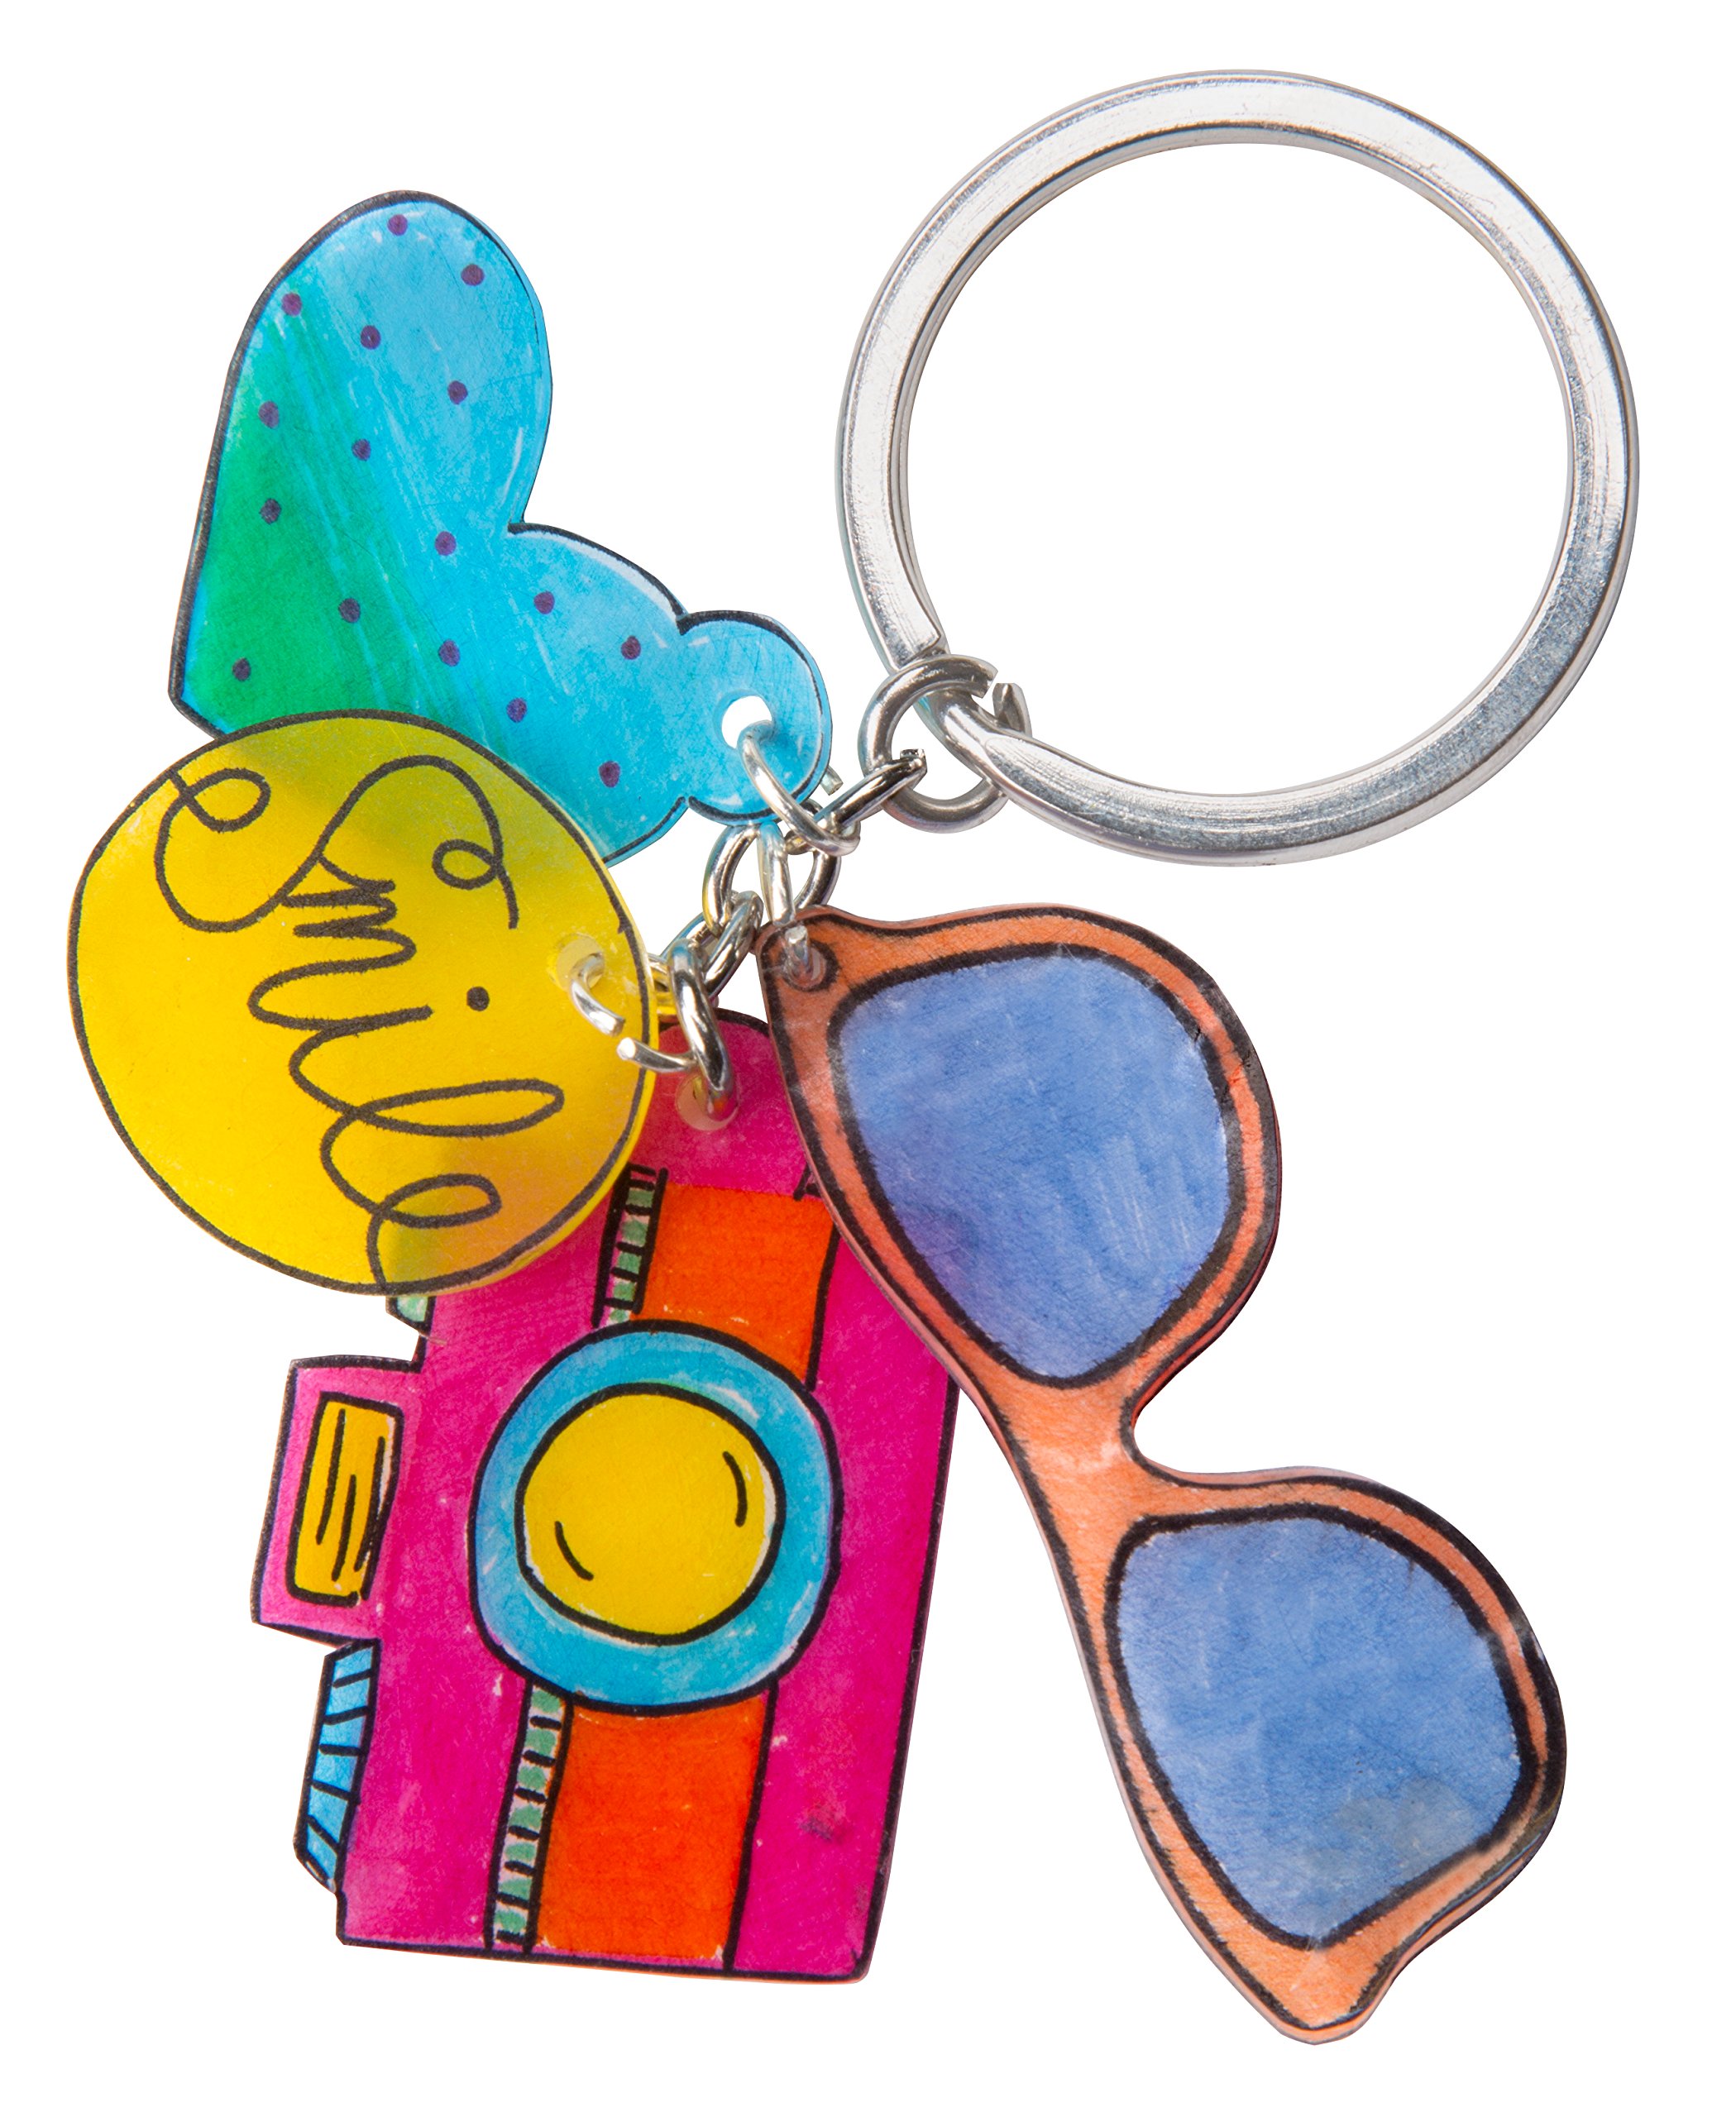
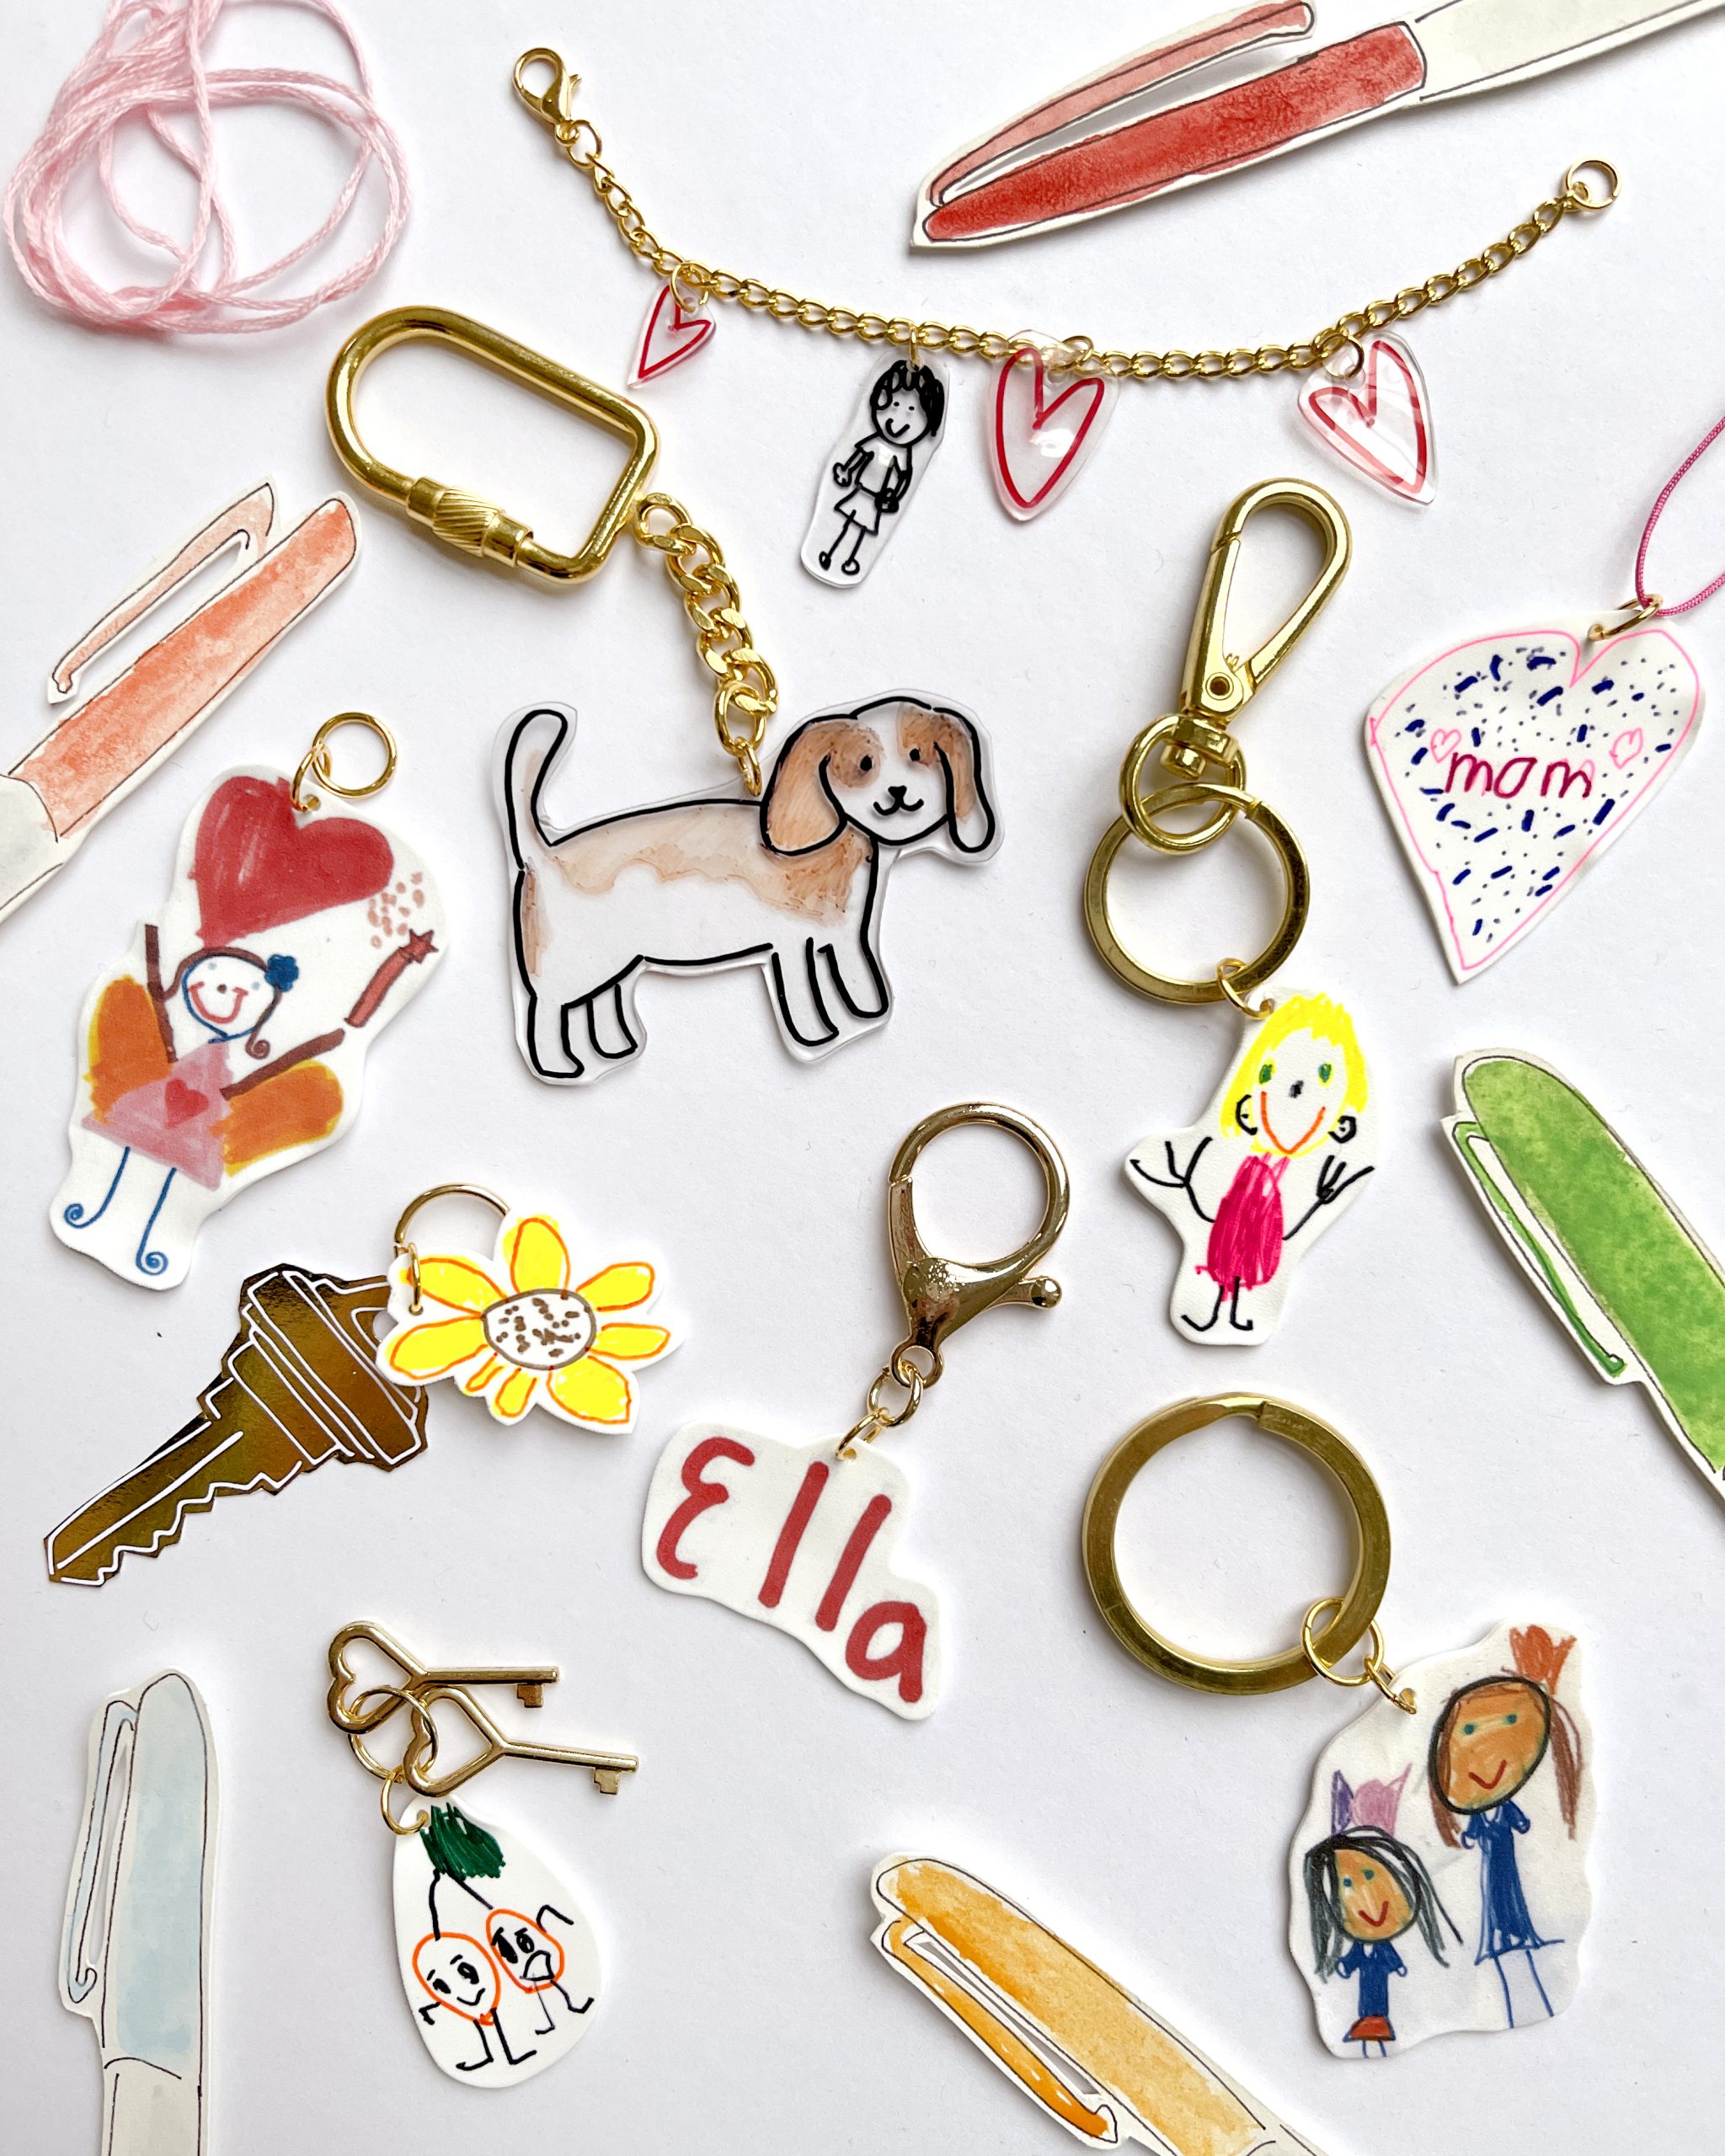
Personalized Shrinky Dink Keychains
Cut your shape out smoothly, punch any holes needed for keychains or necklaces (remember holes shrink too!) Prep your Shrinky Dinks Pan: Baking directly on a cookie sheet is fine, but taking one or two extra steps will help ensure that your shrinky dinks don't curl as bad: Bonus tip 1. Do this one as often as possible.
DIY Shrinky Dink Craft Ideas
From cool brooches and pin-on 'flair', to Christmas ornaments, rings, necklace pendants, decorative garlands, and so much more - there's just no stopping the humble shrinky dink! That's why we've rounded-up 40 of the most amazing DIY shrinky dink plastic crafts on the planet. Trust us, there's sure to be several projects below.

Shrinky Dinks Plastic Shrinky Dinks DIY Plastic & Paper Manufacturer
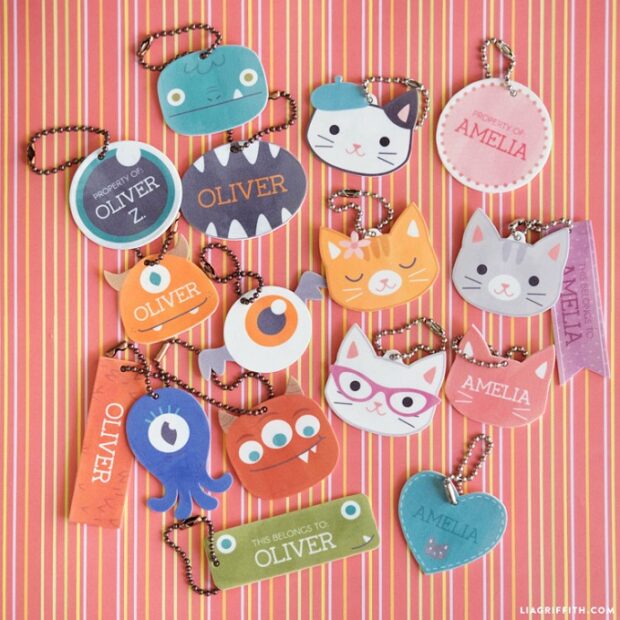
Shrinky Dink Ideas: Crafts to Make With Shrinky Dink Paper. 1. Shrinky Dink Rings. via Awesome Jelly. Grab some ring blanks and you can make any sort of ring you like with some shrinky dink paper! These would make such a fun gift for your kids to give to their friends! Get the instructions here!

Pin on Shrinky dink ideas
Shrinky Dinks are back! Check out this creative list of 25+ Shrinky Dink Crafts. Do you remember in the 1980's when making shrinky dinks as a kid was all the rage? You would color on the shrinky dink plastic and then watch your colorful creation shrink down to an itty bitty size. As a kid, watching your creation shrink in the oven was magic!
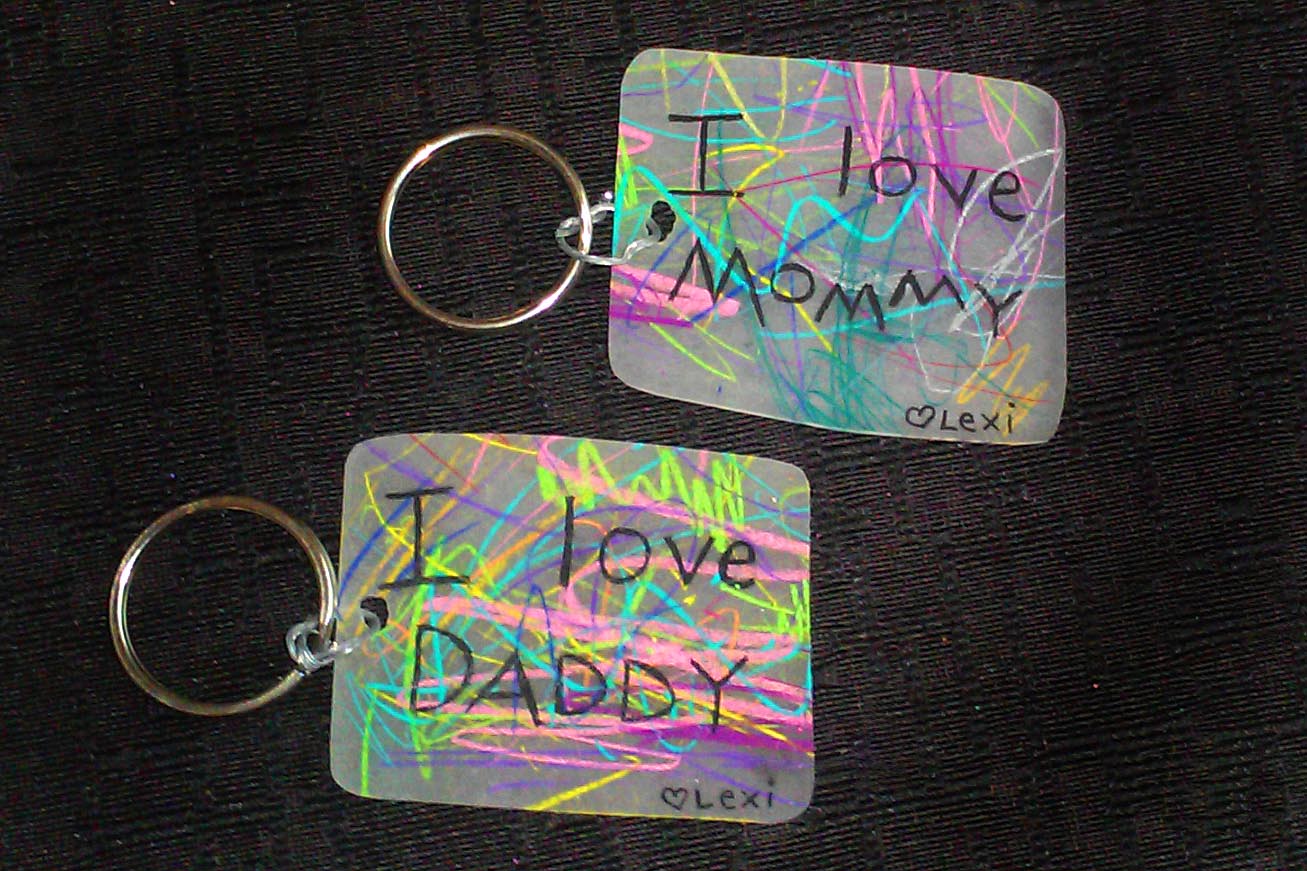
Personalized Shrinky Dink Keychains
The Best Shrinky Dink Craft Ideas. 1. Heart Keychain. via sahlandwhite. Never lose your keys with these pretty heart-shaped keychains made from shrinky dinks! You can personalize them with funny sayings or go simple with just a name. These DIY keychains will also make awesome friendship or mother's day gifts.

Shrinky Dink Ideas Over 25 Fun and Easy Shrinky Dink Ideas
Sometimes called shrink art, Shrinky Dinks first became popular in the 1980s and '90s. The basic idea is you decorate a piece of polystyrene (plastic) and then bake it so it shrinks down in size. The final piece will be smaller, thicker, and more heavily pigmented. Shrinky Dinks were invented by Betty Morris and Kate Bloomberg, two mothers.
Shrinky Dinks Creative Pack 10 Sheets Frosted Ruff n' Ready
15. Chip Bag Shrinky Dinks. This idea is so clever! Use old chip bags to make shrinky dinks. Find this cool idea here. 16. Shrinky Dink Footprint Keychain - shrinky dink keychain ideas. Turn footprints into a keychain with this cool idea. This is so handy and also a great memory.
Shrinky Dink Personalized Charm Darcy Miller Designs
How to Identify #6 Plastic for DIY Shrinky Dinks. It's not hard to find items made from #6 plastic. In fact, I bet you'll start looking for it just about everywhere once you make this project. While you can just order DIY Shrinky Dink sheets from Amazon, I prefer to find them among things I'm probably gonna just discard anyway.

Sheenaowens Shrinky Dinks Ideas
Typically, shrinky dink plastic if first colored on with permanent markers or colored pencils. Next cut out the shapes and bake at 325 degrees Fahrenheit for about 1-3 minutes. At first, the Shrinky Dinks will curl up, but then they will flatten back out. Once they flatten back out, bake for 30 more seconds.
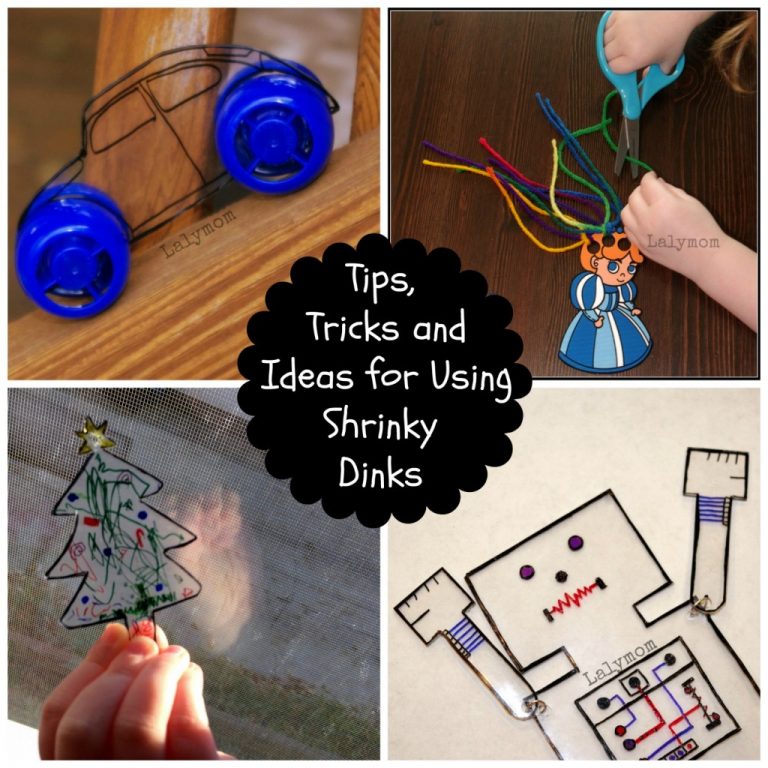
MustRead Tips and Ideas for Using Shrinky Dinks LalyMom
Punch a hole 2-3mm away from the edge if necessary. Remember that the hole will shrink as well! Place pattern on parchment paper or aluminum foil on baking sheet color side up. (Keep space between patterns if making multiple designs). Preheat oven to 325 degrees.

DIY Shrinky Dinks A Shrink Plastic Craft Guide
For our shrink dinks, we like to cook them on parchment paper on a cookie sheet at 325 degrees F for 1 to 3 minutes. You will see the plastic curl and twist as it heats up. Wait 30 seconds after the last one is laying flat. We have yet to overcook a shrinky dink but watch the oven pretty closely while shrinking.

DIY Old School Craft Shrinky Dink necklaces!!! Handmade by Kelly
Line a cookie sheet with some oven-proof parchment paper or foil. Place your cut out design on the cookie sheet and place carefully into the oven. Check the packaging of your Shrinky Dink plastic for exact instructions, but generally, they require 2-4 minutes at 325 degrees Fahrenheit.
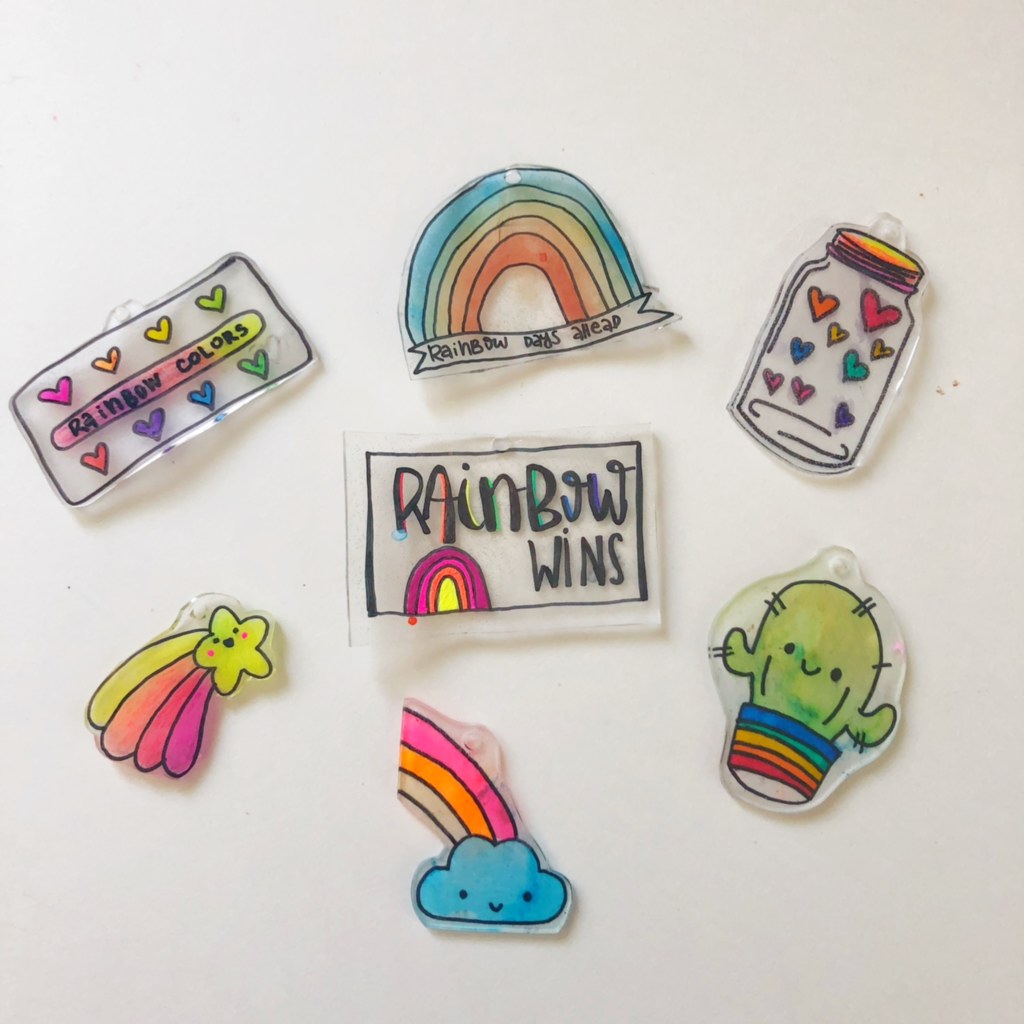
Rainbow themed Shrinky Dinks!
1. Spring Shrinky Dink Patterns 2. Summer Shrinky Dink Printables 3. Fall Shrinky Dink Design 4. Winter Shrinky Dink Templates Holidays 5. Valentine's Day Shrinky Dink Templates 6. St. Patrick's Day Shrinky Dink Printables 7. Mother's day Shrinky Dink Traceable 8. Father's Day Shrinky Dink Templates 9. Easter Shrinky Dink Patterns 10.
Shrinky Dinks Creative Pack 25 Sheets Crystal Clear
Preheat your oven to 350 degrees. Put the rack in the lowest oven position. The reason the plastic works for designs is because it's made out of polystyrene just as Shrinky Dinks are. Make a tray out of aluminum foil by folding it until it's thick enough to hold the plastic. Put the plastic designs on the tray.